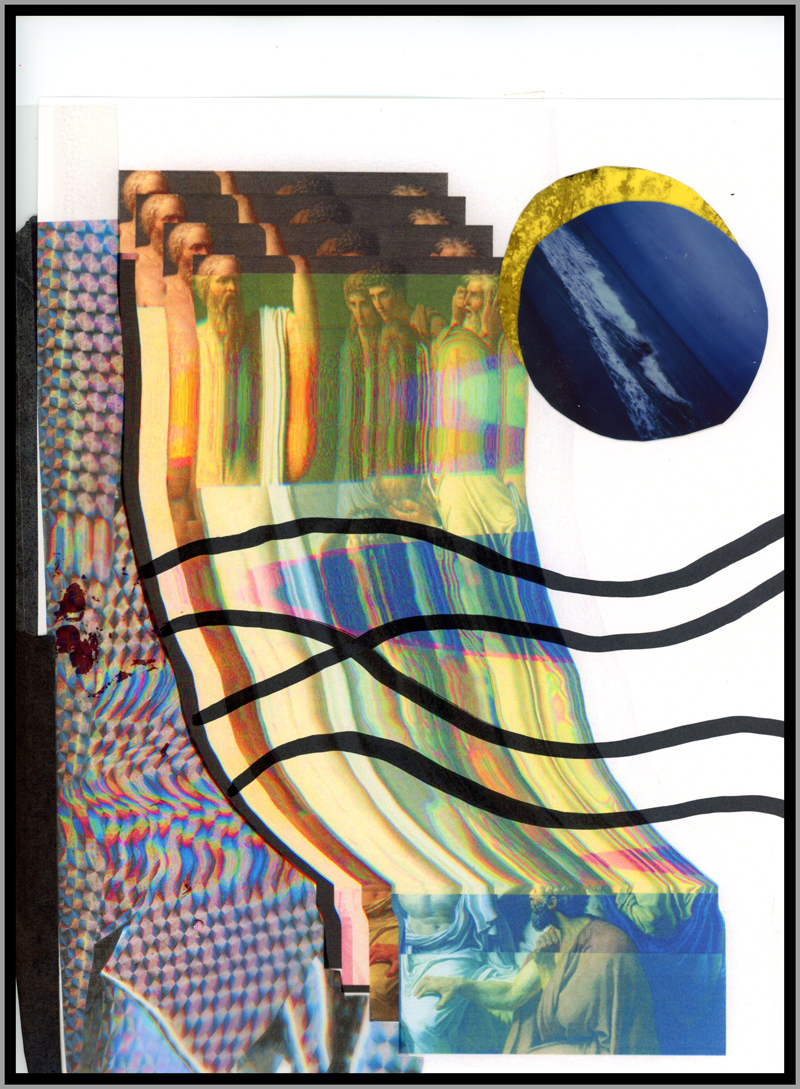
Experimenting with Tobias Løfgren 's 'glitch tools'
Surfed the net and stumbled on this great tool and blog post by Tobias Løfgren who was experimenting with databending image files.
I had been using a very similar python script from some old reddit post years ago but experimented with this one and found it to be a good upgrade.
You can read his experiments with different file types here.
Quick tutorial for an absolute beginner below.
To get going, I downloaded their files from github and grabbed a quick image off the internet. I chose a nice detail from the Death of Socrates.
This post is specific for OSX users only, sorry to PC people.
To get going do the following:
- Open up Terminal and switch to folder you want to work in
Ideally, you have put your image and the downloaded .py file in the same working folder where you want to generate images.Switching to the folder you want, just type ‘cd’ and drag the folder on to the Terminal window. Hit Enter.
- Now that you are in the same folder as your .py file and your image, just start creating a new command to run.
To start a python command enter ‘python3’ then the filename you want to run.
This would look something like this:
- Follow the various commands to create interesting combinations.
You need to always set the required fields. Remember that you can drag folders on to Terminal to get locations when selecting folders.
I had success with .jpgs running commands like:
python3 glitch-tool.py -i death_of_socrates.jpg -m repeat -o /OUTPUT-FOLDER/ -a 30 -b 1-400 -c 1-5 -r 1-10
The great parts about this tool are trying various modes ‘-m’ and using the ‘-a’ attribute to create multiple files at once. Since the byte swapping is random, it is beneficial to generate 30-40 images at a time and preview through them to find the best results. The previous tool I was using only generated one image at a time and didn’t set ranges for the variables. Read Tobias’ blog posts about the various effects on different file types. I didn’t have too much success with .tif or .png files but I only experimented briefly.
Don’t forget to open in a friendly image software and re-compress to bake in the glitch